TUFTING IS AN ADVENRURE
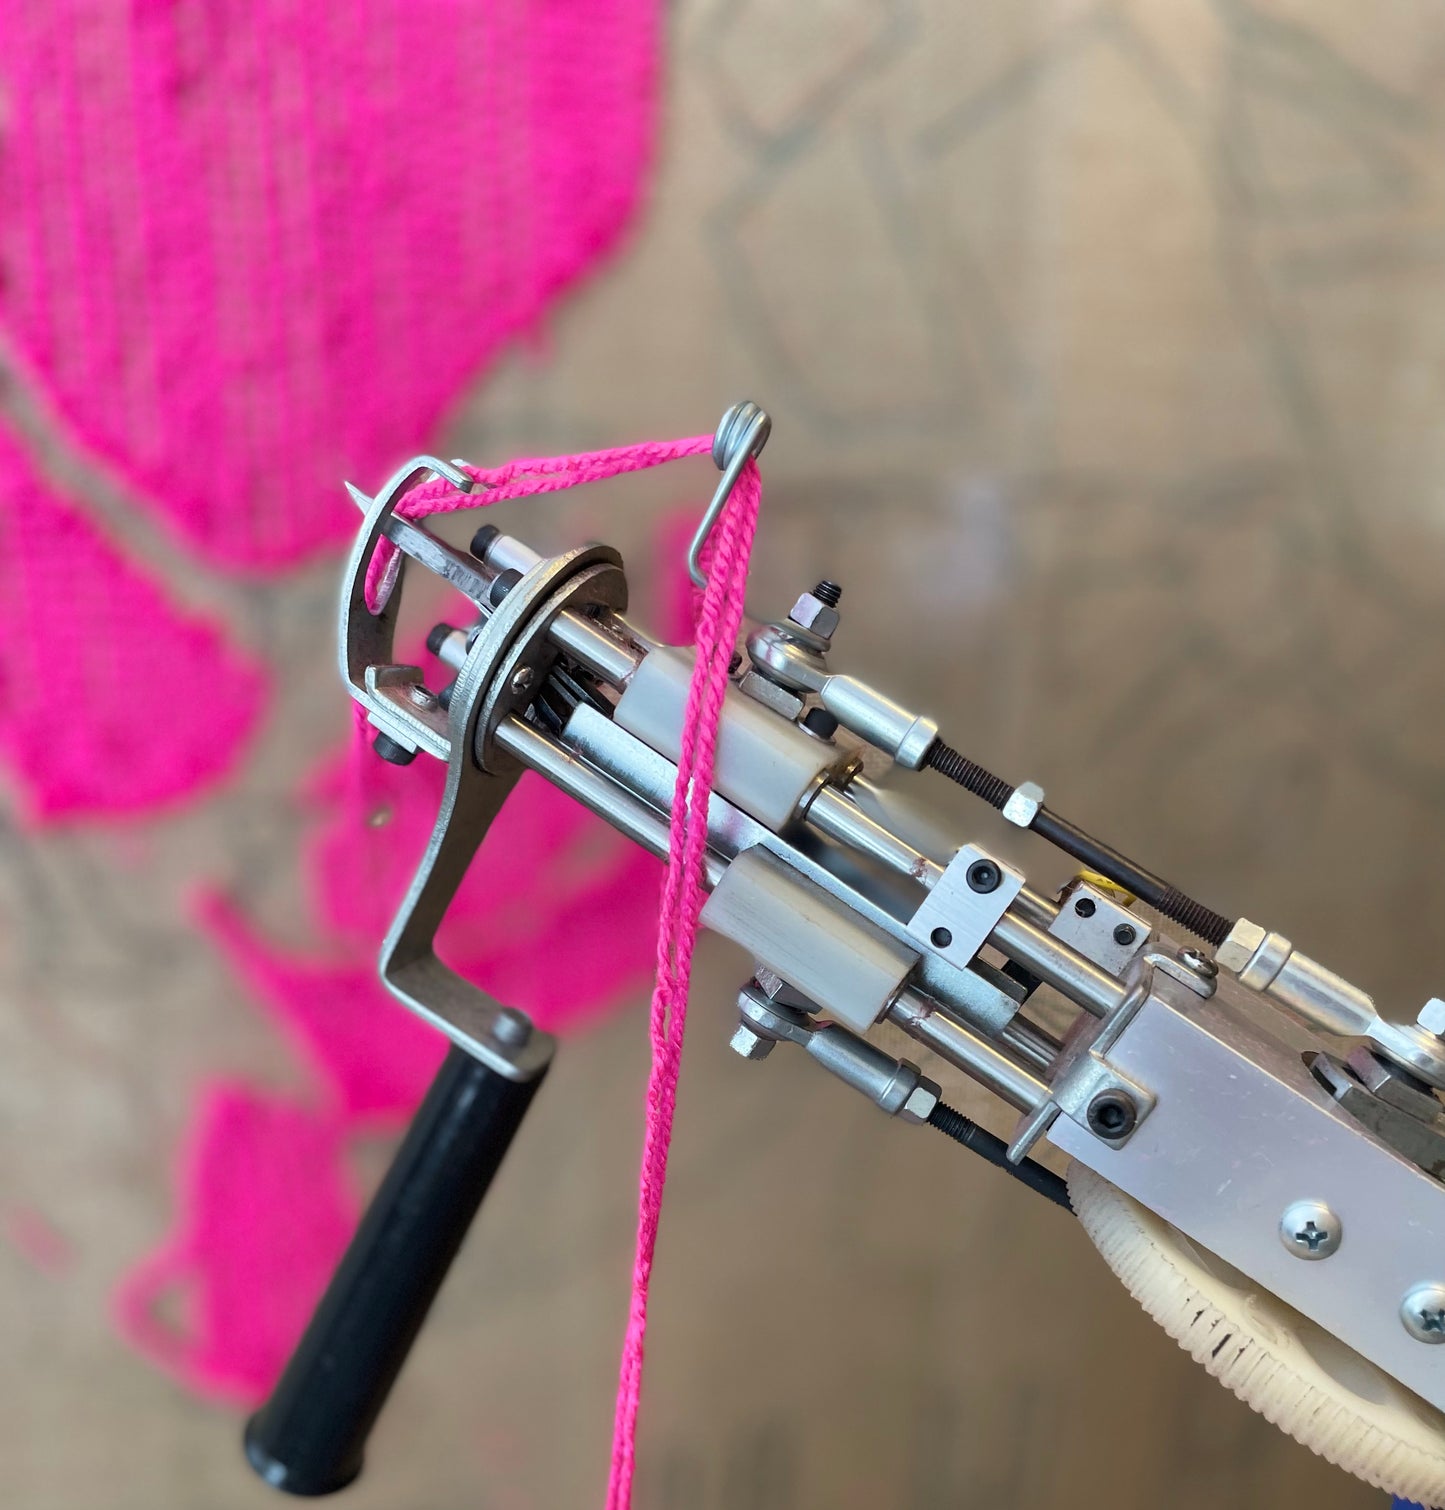
I discovered tufting while scrolling through IG a few years back. This amazing tufting gun shoots and slashes yarn through a thick fabric stretched out onto a large frame.
This magical technique let me express myself in a more rugged(haha) matter, without compromising my propensity for meticulous craft; which in turn, gave me a new way to interpret my design process
- MY HOW-TO GUIDE TO TUFTING -
1.Design


The 1st: You need some sort of projector to be able to trace and scale your design onto the fabric.
The 2nd: Freehand draw directly onto your fabric using paint, markers or any medium that will help you see your design clearly.
There are two ways of doing that:
The first: you need some kind of a Projector to transfer & trace your digital or scanned design onto the fabric.
The second: Freestyle by hand painting, with markers or any form of your liking.
3.Stretch
To get the best results without tearing the fabric with your gun, your fabric needs to be stretched taut onto your frame.
Start by stretching from the top of the frame, moving down sides, and finishing at the bottom, where you will need to muster all of your power to ensure that the tension is evenly distributed over the entire surface. This stage is tedious and not the funnest, but it is absolutely vital to ensure a solid working surface which you will be grateful for later on.
4.TUFT!
First, do some tests & swatches to determine your desired pile height, yarn mixes and textures, and color combos.
Remember that each yarn tufts and get fed through the gun differently, so don't skimp on this stage!
5.Trimming
In order to get the smoothest backing for your rug, you need to properly trim all of the excess threads that are peeking through before moving on to the next step.
6.Glue
For my work, I use rug latex adhesive.
For this part you'll need:- Spatula
- Gloves if needed
- Glue
- If you're sensitive to smell, put on a filtered mask.
You'll need to cover the entire surface of the back of the rug + approx.2cm for seam allowance just in case.
7.Back Treatment
After the glue dries down, you need to attach the back fabric with another layer of glue.
I use a web spray adhesive .You'll need to spray it both onto the back side of your rug, as well as onto the back side of the fabric that you want fro backing.
You can use a non-slip backing for rug, or make it decorative depending on your piece's purpose.
8.Edge Treatment
This is very time consuming step.
After the all the glue has dried, cut all off the access fabrics out, leaving the 2cm seam allowance.You have two options for edge treatment:
The 1st: Whip stitch (the long way)
This is done with yarn and a thick needle by making continuous loops from front to back all the way round the rug.
The 2nd: Binding tape/ Bias Binding (the quickest way)
You can buy this at a haberdashery store, or you can make your own.
*In this case, you will need glue down the binding to the back side of the extra 2cm seam allowance that you have left; the tape should then be folded over onto the right side of the rug, and then glued down with a hot glue gun.
9.SHEER
WELL DONE!
Your rug is all finished now. You just need to do this final and crucial step - Ensure the surface is all sheered, neat & carved if needed.You can do this step with fabric scissors, speciality sheers, or a hair clipping machine.
This step will really help add that refined final touch to your rug. *You may skip this step for a more wild, disheveled look.
*For more tips & tricks feel free to DM me and i'll be happy to help you out.
HAVE A HAPPY TUFTING DAY!
